11.6.1 Do Not Disturb
Unlike the DND softkey button on the desk phone which only applies to the desk phone on which it is programmed, the Do Not DIsturb (DND) feature is being applied on platform level to all the devices of the user when it is enabled.
For now the Do-Not-Disturb (DND) feature is only supported on Yealink desk phones. Support for other phone brands will be implemented at a later date.
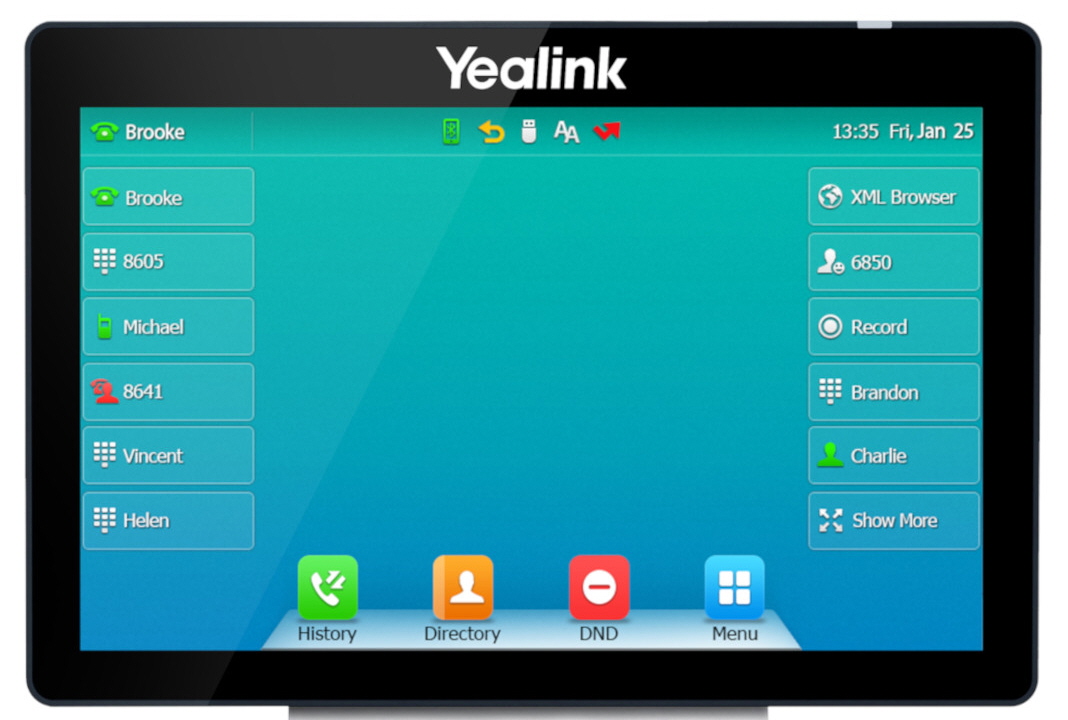
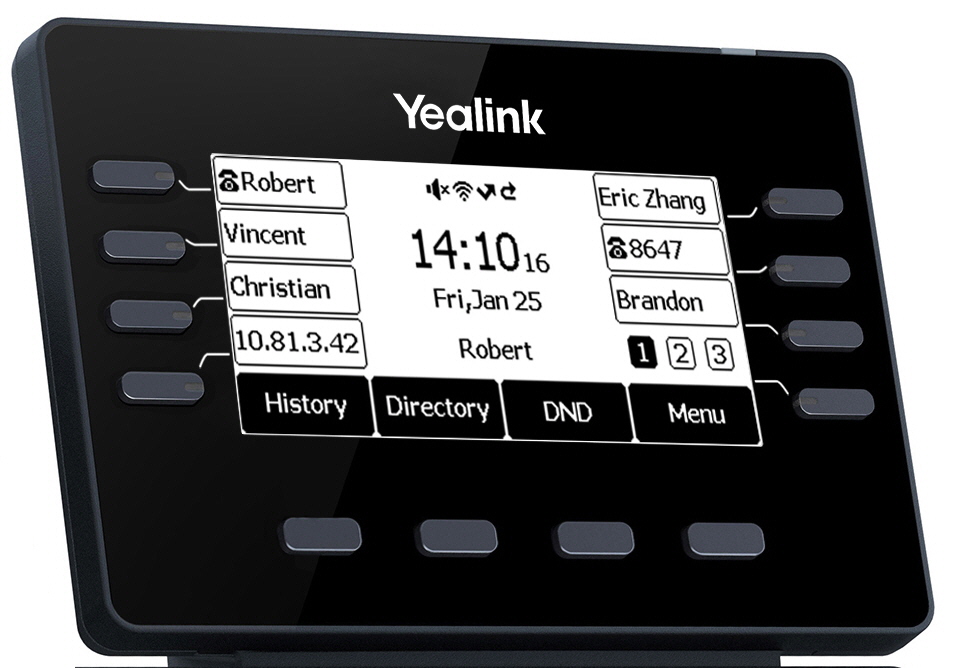
The DND feature is not using a programmable softkey button but the native DND button on the desk phone. The location and button type depends on the model. See two examples below of the DND button on different Yealink models.
To avoid confusion it is advised to remove the programmable softkey button, when the DND feature is enabled for a user extension.
For the DND feature to work on a Yealink desk phone it is required that the configuration of the phone is updated. See 11.6.3 Provisioning the desk phones (CPEs) on how to update the configuration of the desk phone.
DND Configuration
The new DND feature is integrated into Reach. Pressing DND on the phone will be synced to the platform and trigger a Reach status override that activates a configured Do Not Disturb status. Next to pressing the DND button on the phone, DND can also be enabled in the desktop and mobile clients by selecting the Do Not Disturb status as your active status. Disabling DND on either the desk phone, in the desktop app, or in the mobile app will disable DND for all devices.
To configure the DND feature
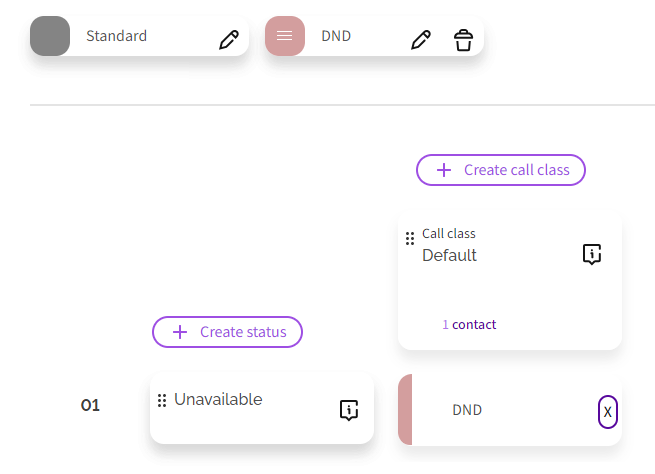
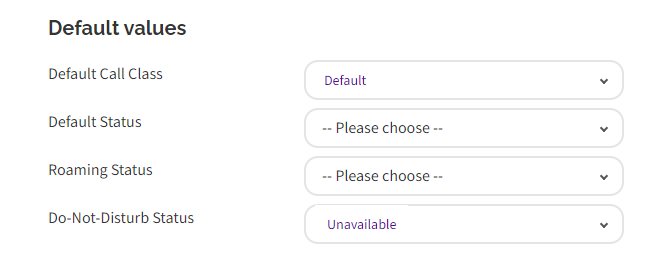
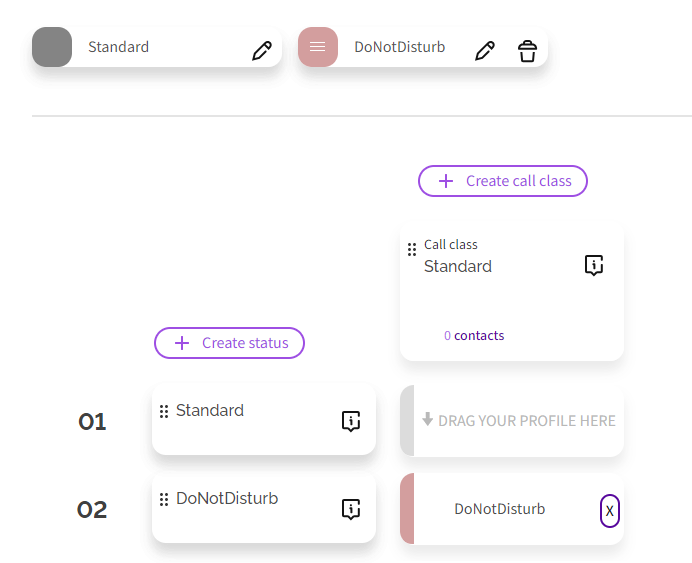
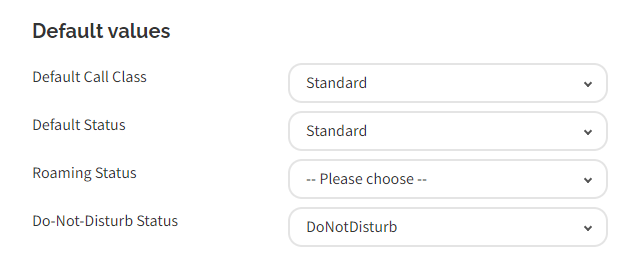
When you have configured multiple call classes assign for each call class a profile to the Do-Not-Disturb Status, this ensures that DND is applied for every incoming call. You can assign to each call class/Do-Not-Disturb status a different profile, so that depending on who is calling calls can be routed differently when DND is enabled.
Default Reach configuration
When the Reach configuration of a user is cleared, DND will be configured by default. A Standard call class and status, and a DoNotDisturb status and profile will be configured. In the default configuration all incoming calls will be redirected to the voicemail when DND is enabled.
Be aware that by clearing the Reach configuration of a user, the user no longer can configure Reach statuses and contact groups in the Reach app. This cannot be reverted.
The new DND feature is not compatible with the Contact and Status mode in the Reach app. When the Reach configuration of a user is cleared or a new DoNotDisturb status is added, Reach will go into the Matrix mode which results that Reach no longer can be configured in the Reach app and only can be configured in the Operator portal.