4.20.1 Set up federated authentication with Entra ID
Microsoft Entra ID is the identity provider (IdP) that issues an authentication token for the user. This authentication supports certificate authentication and two-factor authentication (2FA).
To configure SwyxWare application in Entra ID
1 Log in to the Azure portal as an administrator.
2 Select Microsoft Entra ID.
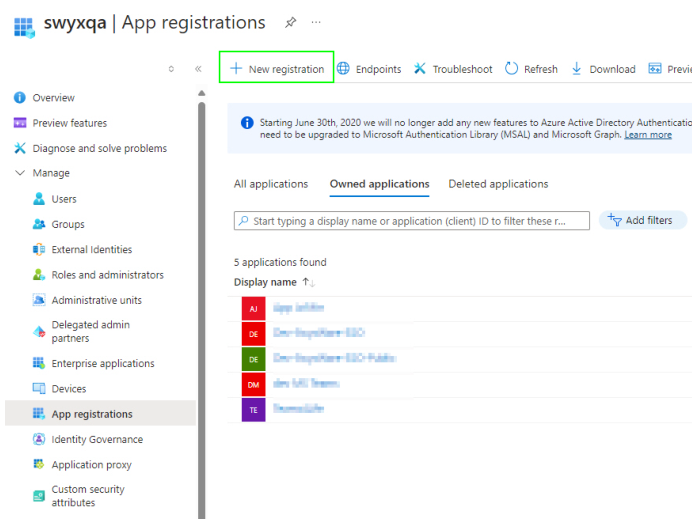
3 Select App registrations.
4 Click on New registration.
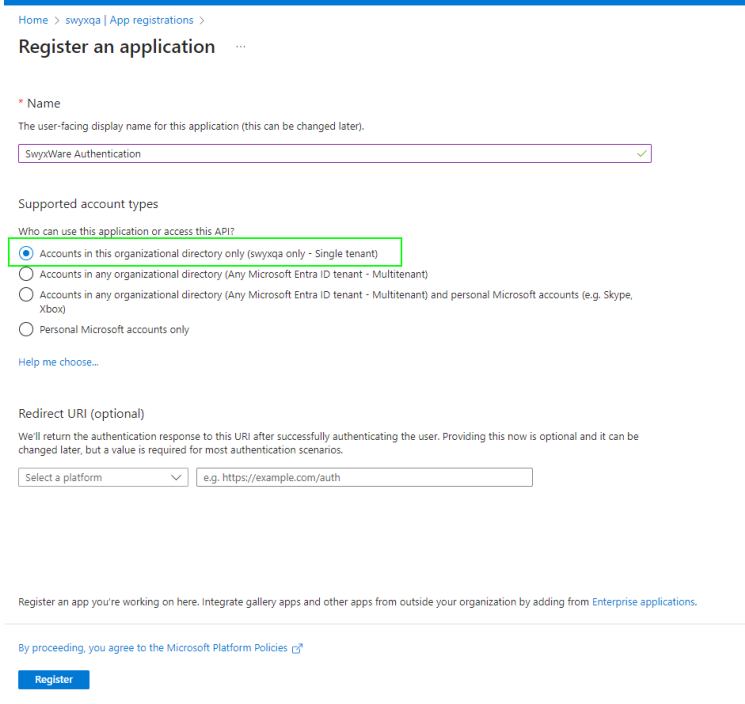
5 Enter a unique name for the application.
6 Under Supported account types, select the option Accounts in this organizational directory only (<account> only - Single tenant).
7 Click on Register.
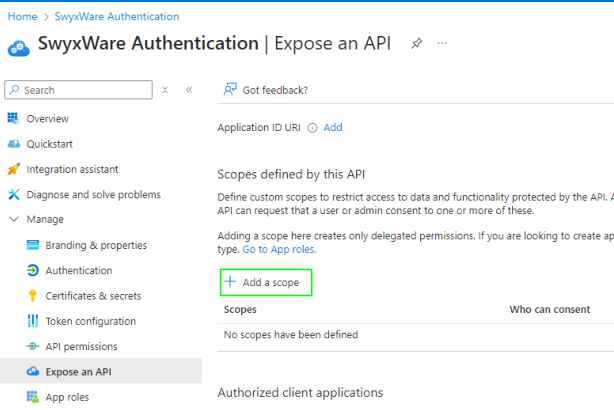
8 Select <SwyxWare App> | Expose to API.
9 Click on Add a scope.
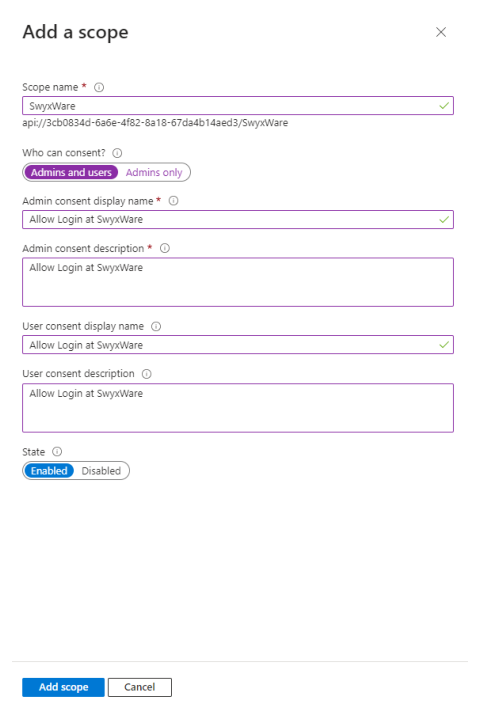
10 Enter a unique name.
11 Select the Admins and users option.
12 For example, you can enter "Allow login at SwyxWare" as the display name and description.
13 Select Enabled and click on Add scope.
14 Select <SwyxWare App> | API permissions.
15 Click on Add a permission.
16 Select Microsoft Graph | Application permissions.
17 Click on Add a permission and add the following authorizations:
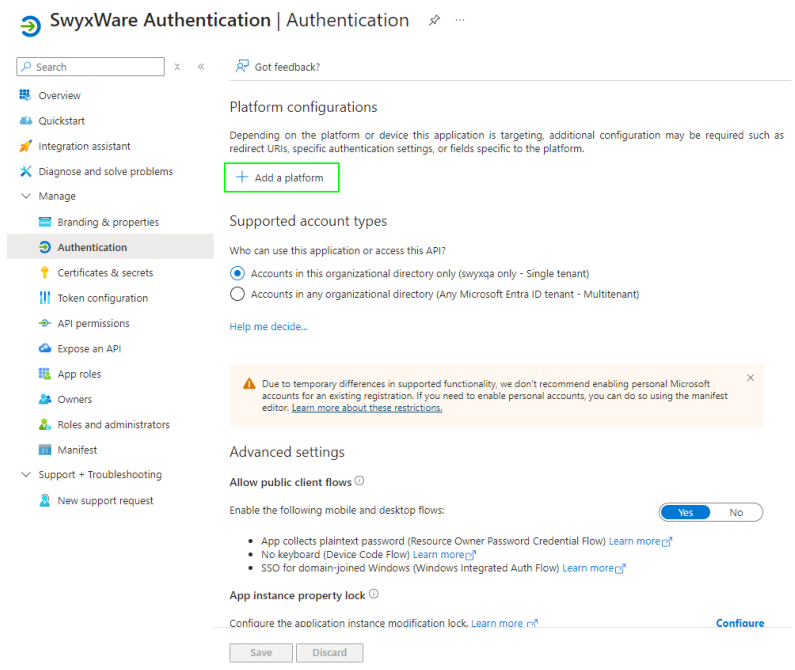
18 Select <SwyxWare App> | Authentication.
19 Under the menu item Allow public client flows, select Yes.
20 Click on Add a platform.
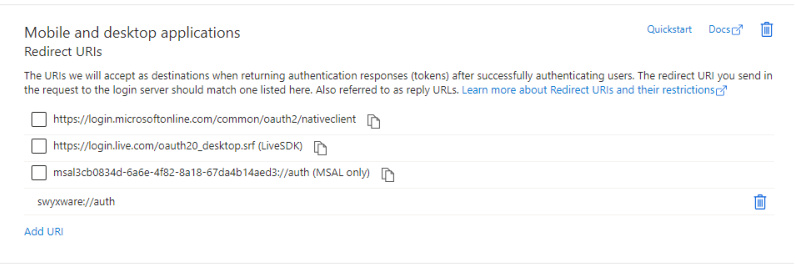
21 Under Mobile and destktop applications, click on Add URI.
22 Enter the following URI: swyxware://auth
23 Click on Save.
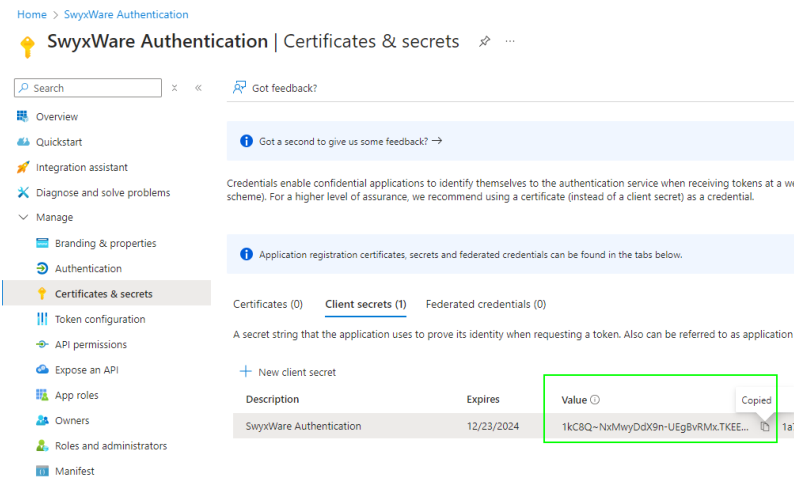
24 Select <SwyxWare App> | Certificates & Secrets.
25 Click on New client secret.
26 Enter a description.
27 If necessary, select an expiry date.
28 Click on Save.

The new secret key appears in the list:
You can copy the Value of the key for the subsequent configuration in Swyx Control Center.
29 Configure the identity provider in Swyx Control Center.