You can use the status mode if you control your availability either by a schedule or according to a concrete activity (e.g. while driving, at work, on vacation).
To set the status mode
1 Tap on REACH.
2 Tap on By Statuses.
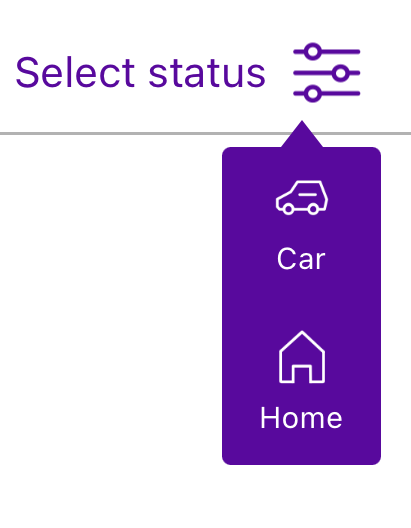
3 Enter a unique name for your status (e.g. Car) and select an icon.
4 Tap on Next.
5 Select what should happen on incoming calls:
If you want to forward the call directly, select Unconditional forward and configure a destination (contact, phone number, voicemail)
If you want to forward the call when you are on a call, select Forward on Busy and configure the destination (contact, phone number, voicemail)
If you want to forward the call if you cannot answer the call within a specified period, select Forward on No answer and configure the destination (contact, phone number, voicemail)
Select the device on which incoming calls are to be signalled. You can also select multiple devices.
6 Select what should happen on outgoing calls:
Select which of your caller IDs should be signalled when you are in this status mode.
7 Tap on Next.
8 Tap the day(s) of the week on which the configured status should be active.
9 Tap + if you want to set a specific time.
It appears 00:00 - 00:00.
10 Tap 00:00 to set the start and end time.
11 Confirm the entry by tapping on .
12 By tapping you can copy the time slot for additional days.
13 Tap on Next.
The status is created and can then be selected using status filter.
If you are using an active REACH configuration, the REACH tile appears on the dashboard. It displays the name of the currently active profile and the forwarding rules that belong to the profile or group.
To edit a status mode
1 Tap REACH.
2 Tap .
3 Make the desired changes.
4 Tap Save.
To remove a status mode
1 Tap REACH.
A list of all status modes appears.
2 Tap Edit.
3 Tap .
To change the order of the statuses
1 Tap REACH.
A list of all status modes appears.
2 Tap Edit.
3 Tap and drag the status to the desired position.
 .
.