2.6.5.12 Remote Inquiry
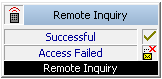
Remote inquiry allows you to listen to the voice messages from any telephone line. When calling your Swyx number, you identify yourself to Swyx using your PIN and can then listen to, repeat and, if necessary, delete first the new and then all existing voice messages. In addition, you can change the destination of the Call Forwarding Unconditional or record a new announcement.
Under "Properties", all three tabs "General", "Parameters" and "Connections" tabs are available for this block.
The action is terminated
 by interrupting the connection (e.g. the caller goes on hook) orafter the Remote Inquiry has been completed.if the access to the mailserver fails.
This is how you define the parameters for "Remote Inquiry"
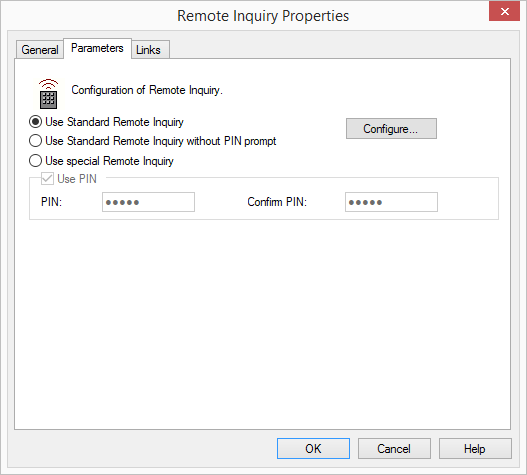
 If you would like to use the Standard Remote Inquiry, activate this option. It is still possible to change the Standard Remote Inquiry here. To do so, click on "Configure…".If you would like to configure a special Remote Inquiry, which is only valid for this action, activate the option "Use special Remote Inquiry".
If you configure the Standard Remote Inquiry within a Call Forwarding or system rule, you will always be asked for your user PIN. There is no checkbox for this. If you are calling from your own extension number, for which this Call Forwarding was configured, you will not be asked for your PIN.
For identification purposes when conducting a Remote Inquiry, the same PIN as the one used for identification on a SwyxPhone is used. If you are calling from your own extension number, you will not be asked for your PIN.
Links
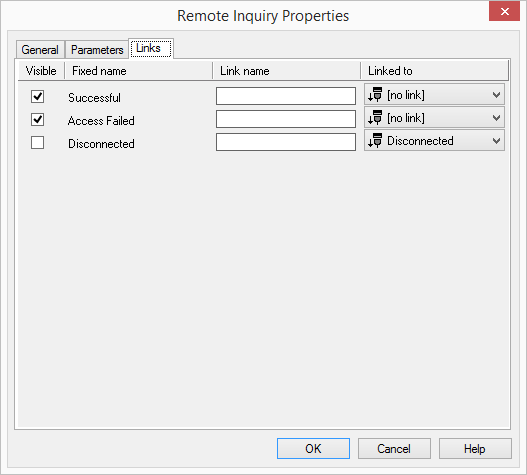
On this tab you will find all outputs associated with this block. The outputs are described as follows:
Output | Explanation |
|---|---|
Successful | This output is selected if a remote query of voice messages was successfully performed during the call. |
Access Failed | This exit is chosen, if a Remote Inquiry was initiated during the call, however, access to the mail server failed. No voice messages could be delivered to the caller. |
Disconnected | This exit is selected if the connection is disconnected. |
In the first column "Visible", you can define whether each output should be shown in the script window.
The "Visible" column is only used to define the visibility of the links in the script window. This setting helps to maintain the clarity of the script. You cannot remove outputs, i.e. the connections must be kept, otherwise an error will occur in the script.
The second column "Default" contains the default name of the output. This provides information about events during the execution of a block so that additional appropriate connections can be created. This fixed name cannot be changed. You can assign your own identifying names to the various contact surfaces in the column "Link name". This name will later appear in the block in the grid interface.
In the last column "Linked to" you see which block input this output is connected to. Here you have the option of selecting a link from a select list, which contains all available blocks.