16.2.2 Requirements
Please refer to 19 Installing and Uninstalling SwyxIt! (SwyxIt! Classic for requirements and instructions concerning customized SwyxIt! Classic installation.
Swyx VisualContacts
For a new installation of SwyxIt! Classic, you must select the option "Customized" in the installation wizard.
For the integration of Swyx VisualContacts, the component "VisualContacts AddIn" must be activated.
When SwyxIt! Classic is updated, Swyx VisualContacts is not automatically installed. After an update, re-start the Setup and select “Modify” in order to start a customized installation. Then, activate the function "VisaulContacts AddIn".
Swyx Connector for DATEV
For the DATEV integration, you must activate the component "DATEV AddIn" in the installation wizard:
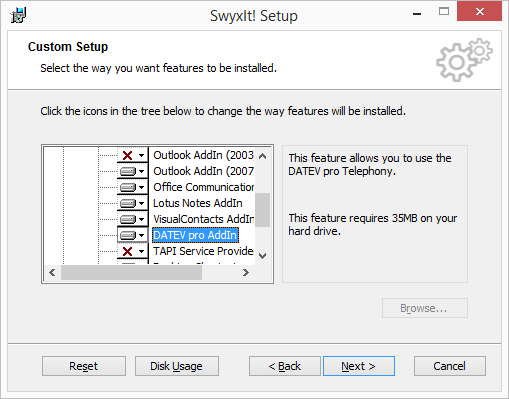
If DATEV is already present on the system, it is detected during the SwyxIt! Classic installation and the necessary components are automatically installed at the same time.
When SwyxIt! Classic is updated, Swyx Connector for DATEV is not automatically installed. After an update, re-start the Setup and select “Modify” in order to start a customized installation. Then, enable the “DATEV AddIn“ feature.
Swyx VisualContacts and SwyxPLUS VisualGroups Skin
To be able to use these options, you must possibly select one of the following skins in SwyxIt! Classic under "Settings | User Profile | Skin":
Your administrator has possibly already assigned you the corresponding skin.
The selected skin is also available to you on other PCs you log in to with your Windows login data. The skin is loaded automatically then.
See also 18 The Use of Skins.