16.6.2 Forward data to the DATEV Telefonie (telephony)
Each incoming and outgoing external SwyxIt! Classic call is automatically transmitted to DATEV Telefonie (telephony) with the basic information (phone number and resolved name, if applicable) and the duration of the call.
DATEV Arbeitsplatz (workstation) must be started to enable the forwarding of call data.
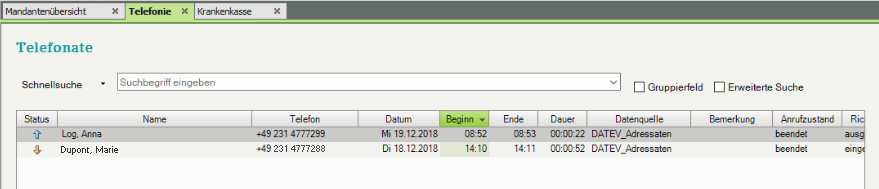
The assignment is only carried out when a call has been accepted or missed. When assigned to a DATEV-Kontakt (“AdressatenID”), the corresponding data record from DATEV-Stammdaten (master data) (“DATEV_Adressaten” or “DATEV-Institutionen”) appears in the “Datenquelle” (data source) column. If the caller is not stored as a contact in the DATEV-Stammdaten, the data source is referred as “Swyx”. Even unanswered calls are transmitted.
Via DATEV-Klick
The button “DATEV-Klick” appears next to resolved contacts on the VisualContacts tab.
The button enables you to replace the automatic contact assignment with a desired contact or to perform the contact assignment manually.
The assignment via “DATEV-Klick” can only be performed while the call is ringing or not yet finished. See also This is how you transfer a call from SwyxIt! Classic call journal to DATEV.
If the contact is ambiguous and no manual transmission was carried out, the following text is entered into the comment field in DATEV Telefonie (telephony): “Swyx: Mehrere Kontakte gefunden” (several contacts found).
The following table shows the cases in which you can/must manually transfer data to DATEV:
Use case | Display in VisualContacts | Assignment |
|---|---|---|
To a DATEV contact |  | Automatic |
To a non-DATEV contact |  | Automatic |
To several DATEV contacts | 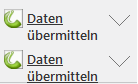 | Manually via “DATEV-Klick” |
To a DATEV contact or one or more non-DATEV contacts | 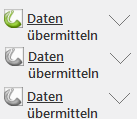 | Automatically (you also have the option to select another contact via “DATEV-Klick”) |
To several non-DATEV contacts | 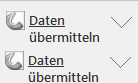 | Manually via “DATEV-Klick” |
Phone number unknown | - | Automatically (only with phone number and possibly resolved name) |
suppressed number | XXX | Manually via search function and then “DATEV-Klick” |
Example (suppressed number)
You receive a call with a suppressed phone number. In VisualContacts no contact can be determined due to the missing phone number. Once you have determined who the caller is, you can search for the name in VisualContacts. When contacts are found, you can click on the “DATEV-Klick” icon to transmit the call data of the desired contact. See 16.4 Searching for contacts.
In each scenario, you can search for contacts during the call and assign the call to one of the contacts.
Via SwyxIt! Classic Call journal
You can manually transfer all calls (including internal calls) listed in the SwyxIt! Classic call journal to DATEV.
This is how you transfer a call from SwyxIt! Classic call journal to DATEV
The call information is transmitted to DATEV Telefonie.